Apache Tomcat is a free and open-source implementation of the Jakarta Servlet, Jakarta Expression Language, and WebSocket technologies. Tomcat provides a "pure Java" HTTP web server environment in which Java code can run.
It is widely used around the world by developers to server scalable websites. The latest version of Tomcat Server os Tomcat 10 which can run on Linux, Windows and MacOS.
- Step 1: Generating a Keystore and CSR
- Step 2: Order and Configure the SSL Certificate
- Step 3: Upload and import the SSL Certificates into your keystore
- Step 4: Configure the server.xml file
- Step 5: Check your SSL Installation
Pre-requisites:-
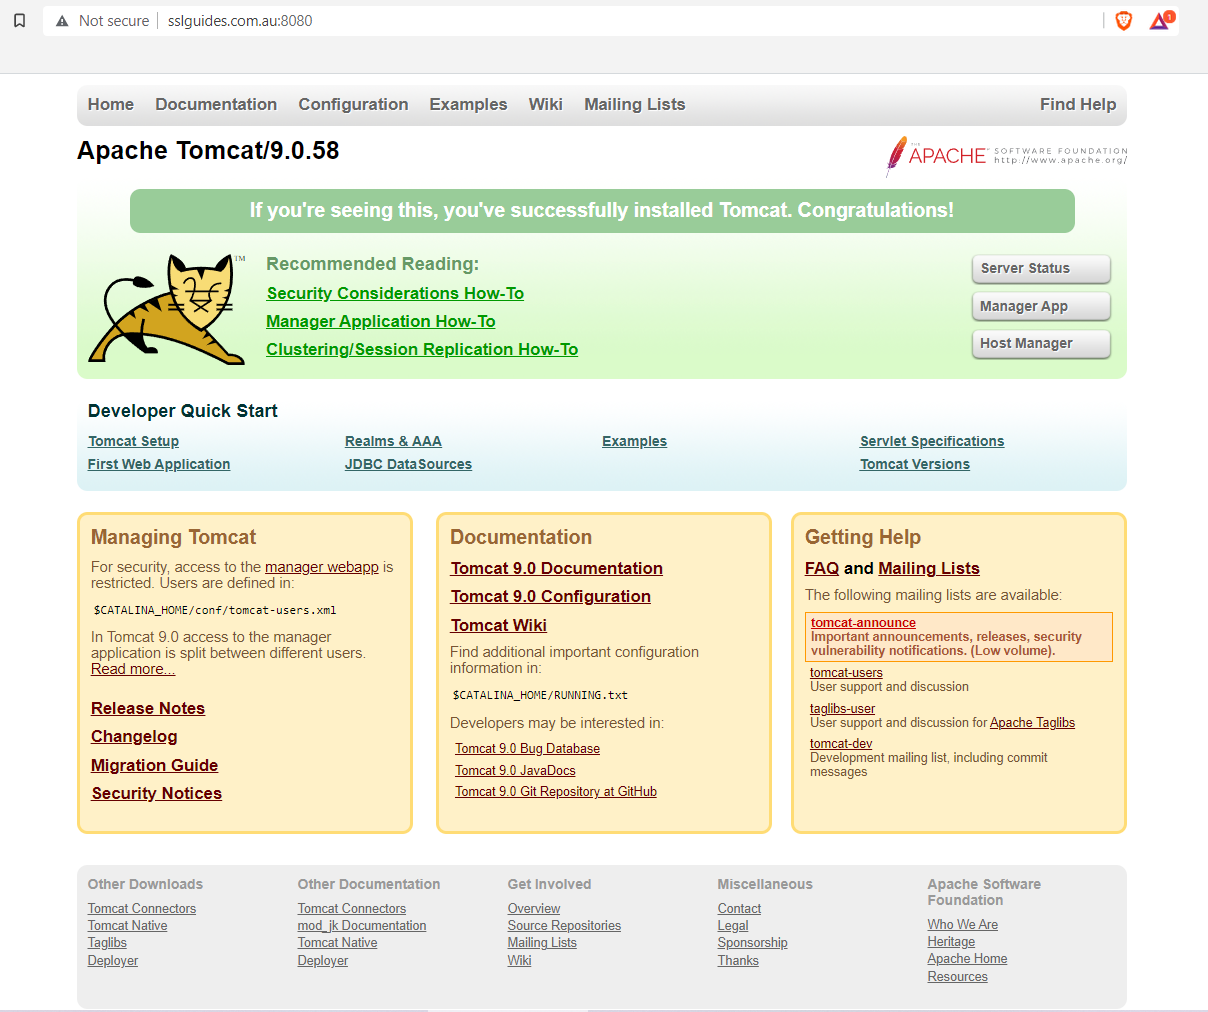
1: Make sure that the Tomcat Webserver is running by navigating to http:// yourip.com:8080
OR
Type the following command:-
systemctl status tomcat.service
2: Check that Java is installed:-
To do so, type in the following command-
java --version
If there is no version output then, download the latest version of Java.
Step 1. Generating a Keystore and CSR
1: Navigate to the default OpenSSL SSL directory
cd /etc/ssl
2: Generate the keystore by executing the following command:-
sudo keytool -genkey -keysize 2048 -keyalg RSA -alias yourdomain -keystore yourdomain.com.jks
Enter the Keystore Password: (Make sure it is something you remember as you will need the password to access your keystore later)
You will then get a prompt asking you to input the following details regarding your CSR:-
What is your First and Last Name? Enter your domain name
What is the name of your organizational unit? Enter the organizational unit such as "IT"
What is the name of your organization? Enter the name of your organization such as "SSLTrust"
What is the name of your city or locality? Enter the name of your city or locality (Such as Sydney)
What is the name of your State or Province Enter the name of your State/Province (Such as NSW)
What is the two-letter country code for this unit? Enter the 2 letter abbreviation for your country (such as AU)
Confirm that all the above stated information is correct by typing: yes.
After you hit Enter, your Keystore should be generated in the selected directory.
3: Generate your CSR by executing the following command:-
sudo keytool -certreq -keyalg RSA -alias yourdomain -file yourdomain.csr -keystore yourdomain.com.jks
4: To view your CSR, type in the following command:
sudo cat yourdomain.csr
You can save the CSR as a .txt file or directly proceed to certificate configuration.
Step 2. Order and Configure the SSL Certificate
Now we need to order an SSL Certificate. If you visit our SSL Certificates List page, you will have a selection of Certificates you can order from. If you have a simple website and want to one domain, you can choose from a variety of standard SSL Certificates. If you are a business website you may want to look at using a Business SSL, we recommend a GeoTrust SSL such as the True Business SSL.
If you require any assistance with selecting an SSL Certificate, please feel free to contact our sales/support team and they will be happy to assist.
1: Order the SSL and complete the checkout process.
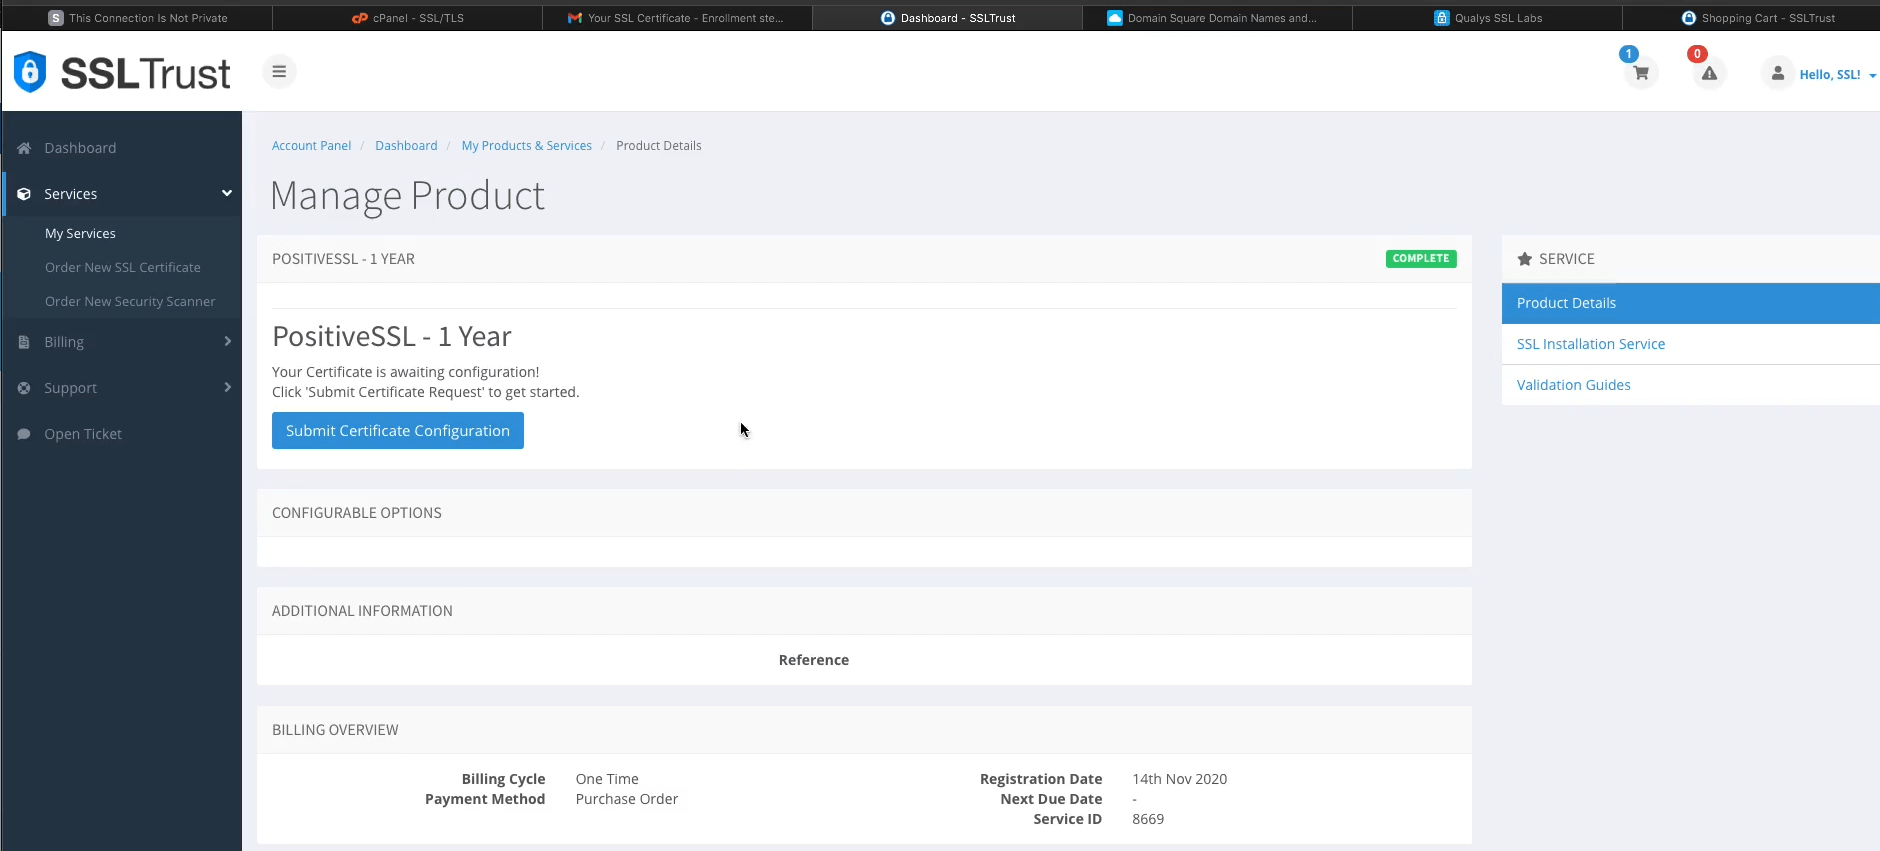
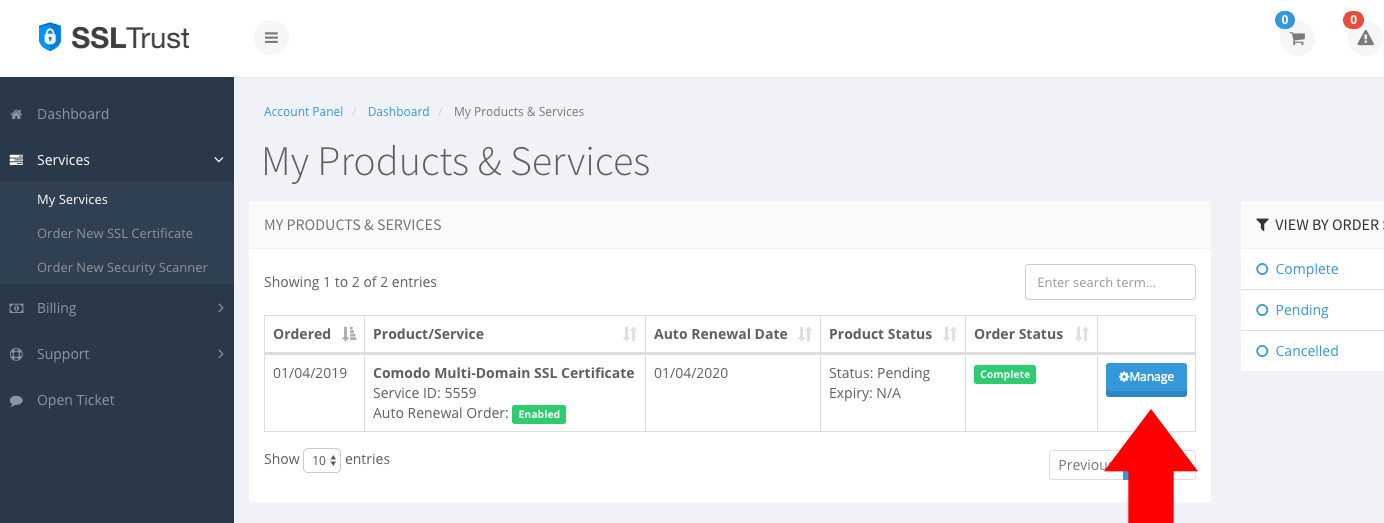
2: Once you have completed the SSL Certificate Purchase you can begin the configuration process. This can be started by going into your SSLTrust account and managing your recent purchase.

You then will need to click the Submit Configuration button to begin the configuration process.
3: You now need to paste in the CSR you generated using the OpenSSL library in the Ubuntu CLI. This includes the lines:
  -----BEGIN CERTIFICATE REQUEST----
  -----END CERTIFICATE REQUEST-----
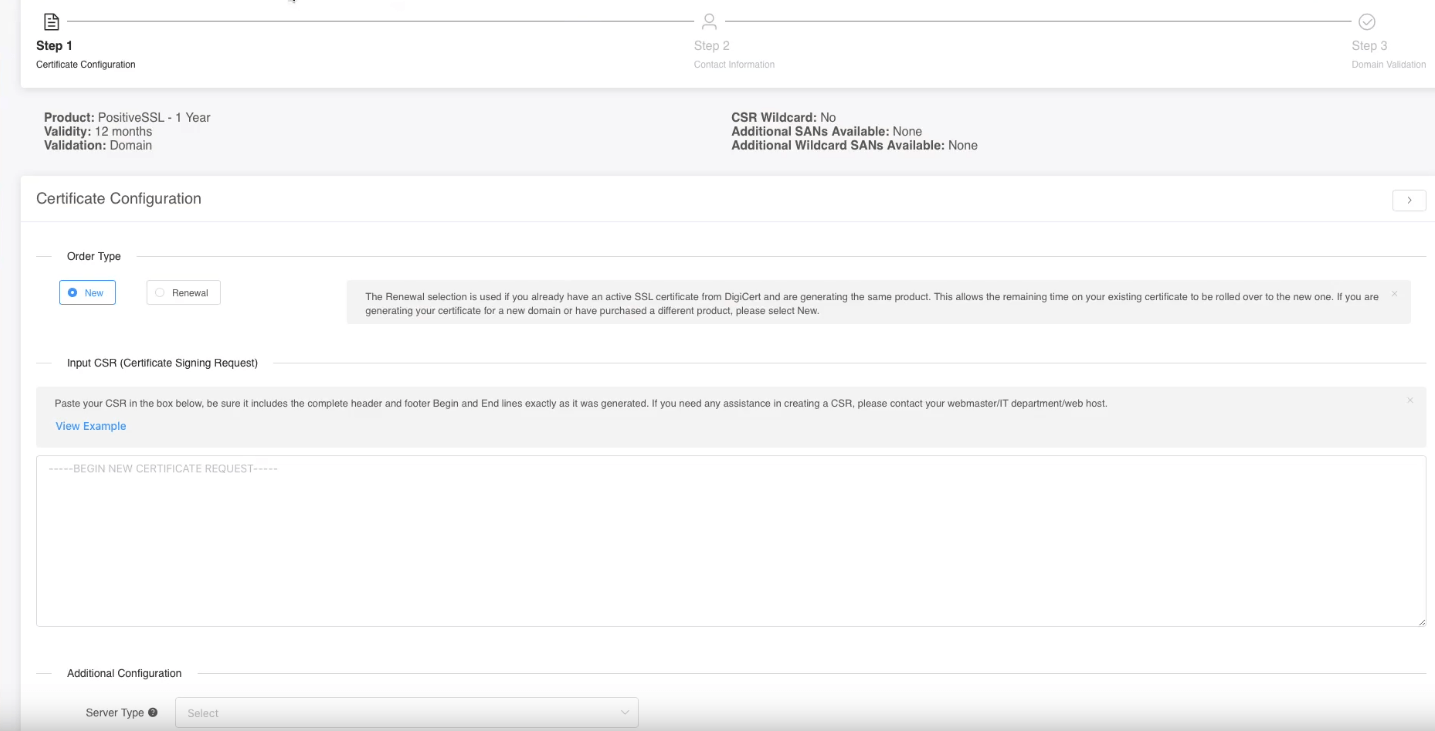
Select Apache/Other for your Web Server Type.
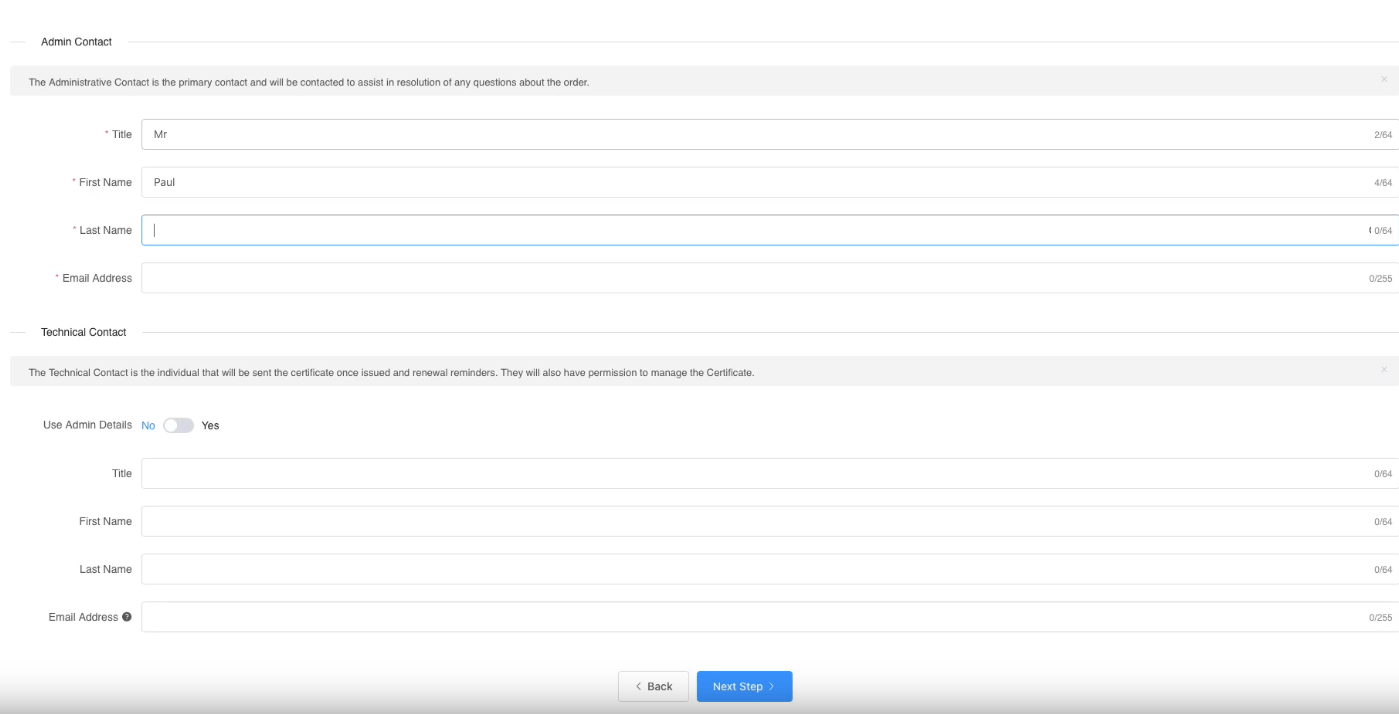
You will need to also enter the Site Administrator Contact Information.
This information is to be of the individual who is responsible to approve and SSL Certificate. If it is a business SSL, it needs to be a contact under the business.
The Technical Contact Information is the details of the individual responsible for the installation and management of the Certificate.
If you have ordered a business SSL, you will also be required to enter your business details. These should be the correct address and phone number and legal entity name. They will be required to be validated by the Certificate Authority, any mistakes will cause delays. More information on Business Validation can be found here.
4: Click Continue to go to the next Step. Here you need to select the Authentication Method to validate your domain name. This is required to prove you own the domain name and have permission to issue an SSL Certificate for the domain.
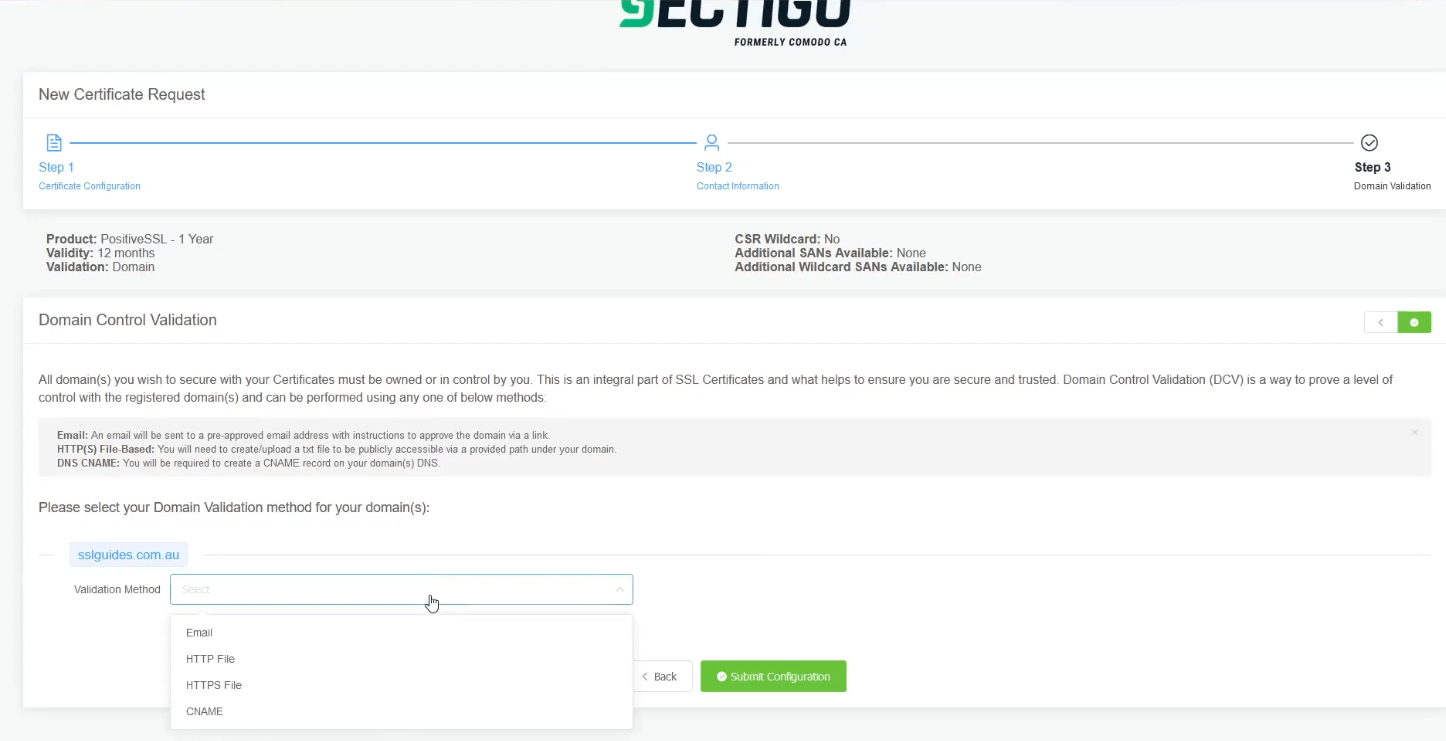
Select the method that will be the easiest for you to use; File-Based Authentication ( HTTP / HTTPS ), CNAME Based Authentication ( DNS ) or Certificate Approver Email.
If you have access to one of the listed emails, this can be the quickest method
Click Continue/Submit to finish the Configuration process.
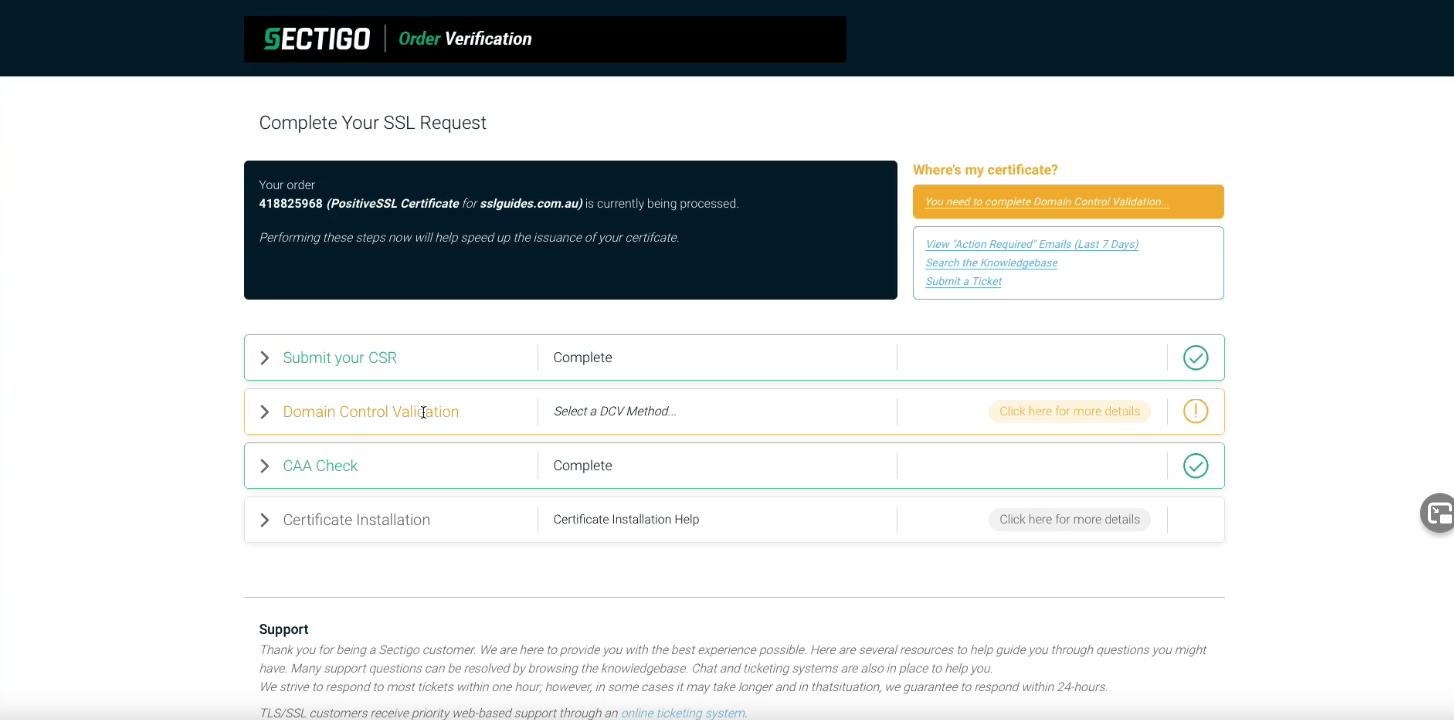
After you complete the domain validation via your selected method, your SSL will be issued. If you ordered a Business SSL, you will need to wait for the Certificate Authority to complete the Business address and phone validation. If the validation has not progressed, or you have not received your Certificate after some time, please contact our support team so we can check on its status.
Step 3. Upload and import the SSL Certificate into your keystore
When your SSL Certificate has been issued, you will be emailed the Certificate Directly from the Certificate Authority. You can also download it from your SSLTrust Portal. Downloading it from the SSLTrust Portal is a good option as we format the certificate in an easy to use way.
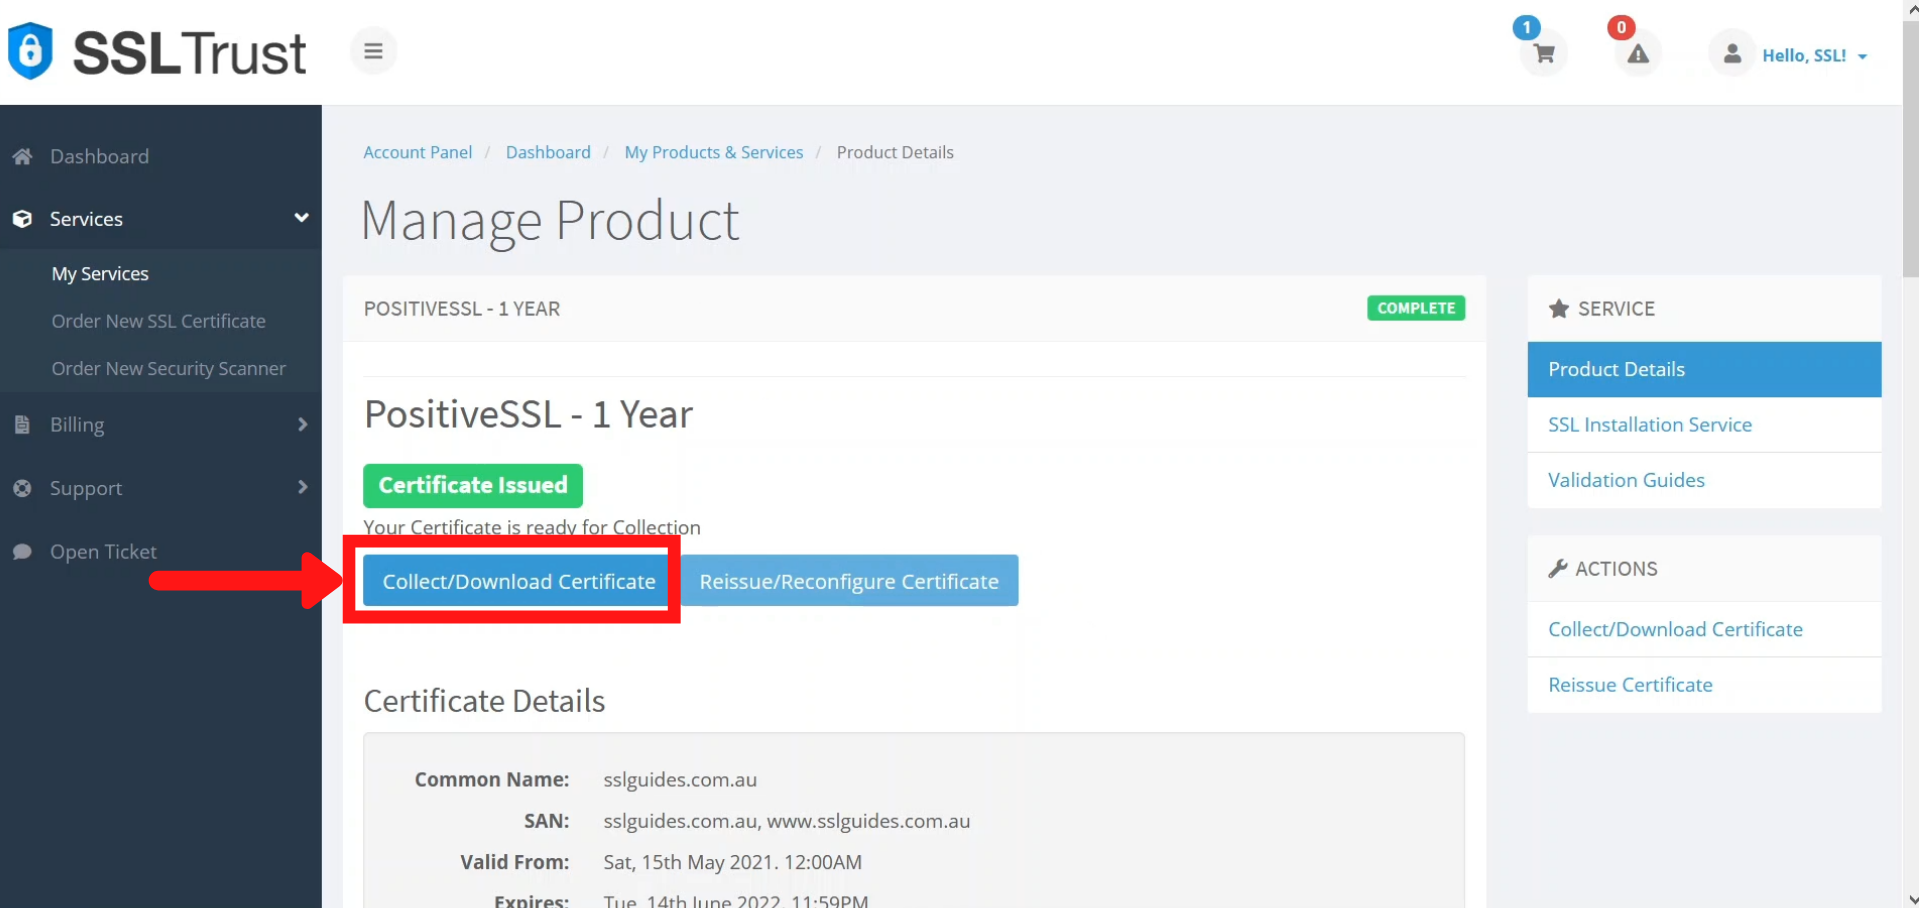
Again; View your certificate management page within SSLTrust
1: Click on the Manage button and collect/download your certificate in .cer format as individual files.
2: Upload these certificate files to /etc/ssl via FTP or SCP.
I will be using SCP to tranfer certificate files from my computer running Windows, to my Linux Server.
Open Command Prompt and navigate to the directory containing the file/s via the cd command.
SCP Command Format
scp -rv [file-name.type] root@yourip:/[linux-paste-directory]
For example:- To transfer a certificate file certificate.cer from my desktop folder to the /etc/ssl directory on my server, the sample command would be:-
C:\Users\Admin\OneDrive\Desktop>scp -rv certificate.cer root@158.258.14.52:/etc/ssl
You can now execute the above command for all certificate files.
3: Once you've done that, you can now import the certificates into the keystore. To do so, execute the commands in the following way:
To import your main certificate:-
sudo keytool -import -trustcacerts -alias yourdomain -keystore yourdomain.com.jks -file /etc/ssl/certs/name-of-your-certificate.cer
To import any intermediate certificates:-
sudo keytool -import -trustcacerts -alias yourdomain -keystore yourdomain.com.jks -file /etc/ssl/certs/name-of-your-intermediate-certificate.cer
To import the root certificate:-
sudo keytool -import -trustcacerts -alias yourdomain -keystore yourdomain.com.jks -file /etc/ssl/certs/name-of-your-root-certificate.cer
Step 4. Configure the server.xml file
1: Navigate to this directory
sudo cd /usr/share/tomcat9/etc
OR in some cases of Tomcat Installation
sudo cd /opt/tomcat/conf
Then,
sudo nano server.xml
After that, scroll down to the connector config part and add the following lines to enable HTTPS on your Tomcat Server.
  <Connector port="8443" protocol="HTTP/1.1"
  connectionTimeout="20000"
  redirectPort="8443"
  SSLEnabled="true"
  scheme="https"
  secure="true"
  sslProtocol="TLSv1.2"
  keystoreFile="/etc/ssl/yourdomain.com.jks"
  keystorePass="Your-Password" />
Then, restart Tomcat
sudo service tomcat9 restart
Step 5. Check the SSL Installation
It is a good idea to go to your website and see if it works via https://www.yourdomain.com We also recommend you use this tool to check the install has been completed successfully: www.ssllabs.com/ssltest/
 You may need to get your web developer, or update your website yourself, to make sure all files use https:// and all links to your site and within your website use https://
If you require any assistance with your SSL Installation please contact our friendly support team.